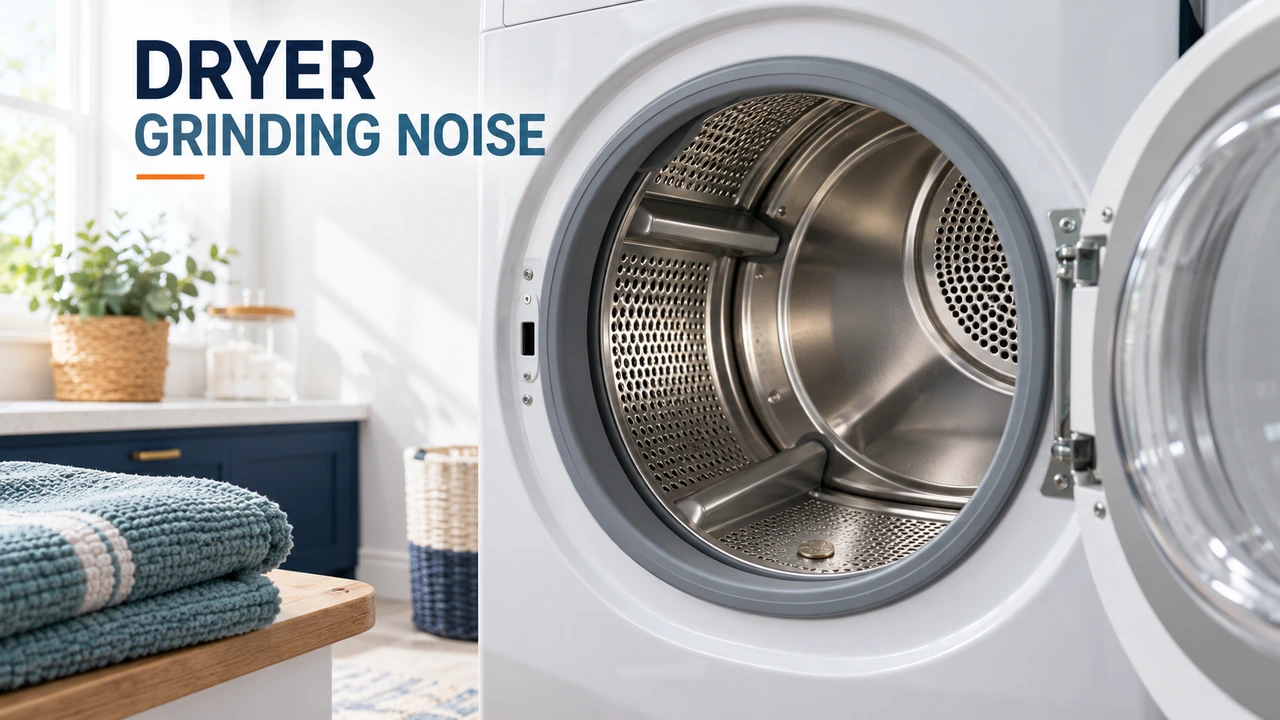
 A clothes dryer making a grinding noise may have worn drum glides, support rollers, or a drum bearing. A damaged idler pulley, an object caught near the drum, or a problem with the blower wheel can also make rough scraping sounds. The noise alone does not identify the failed part, but when it happens can help narrow the possibilities.
First, stop the cycle if the sound is harsh, metallic, or suddenly much louder than normal. Switch the dryer off and disconnect it from its electrical supply before inspecting the drum or lint-filter area. If you notice a burning smell, smoke, unusual heat, or a drum that jams, do not run another test cycle. Arrange professional service.
What the grinding sound can tell you
Listen to the timing of the noise rather than trying to name a part immediately. Some problems occur only while the drum rotates; others involve the fan or motor. A brief, soft thump after the dryer has stood unused is different from a persistent metal-on-metal grind.
| What you notice | Possible explanation | Best next step |
|---|---|---|
| Grinding or scraping with every drum revolution | Worn glides, a drum support, or an object near the drum edge | Stop use; check accessible drum edges for trapped items with power disconnected |
| Low rumble that grows louder under load | Worn drum support rollers or bearing | Have the supports examined before further operation |
| High squeal followed by grinding | Idler pulley or another rotating drive component | Stop the cycle and book a model-specific diagnosis |
| Rattle or scrape near the airflow path | Loose debris or a damaged blower wheel | Check the accessible lint area; leave internal blower inspection to a technician |
| Thumping only during the first minutes after long storage | Temporary flat spots on some drum rollers | Compare with the manufacturer’s guidance; persistent grinding is not normal |
These are clues, not a sound-based diagnosis. Noise can travel through the cabinet, making the apparent location misleading.
Safe checks before arranging a repair
1. Remove the load and inspect the drum
With the machine switched off and unplugged, take out the clothes. Check for coins, keys, bra wires, small fasteners, or other loose objects. Look along the visible drum rim and door opening for anything lodged between moving and stationary surfaces. Do not reach through narrow gaps with tools or remove cabinet panels.
If you find an accessible loose item, remove it without forcing any parts. A small object can make a surprisingly severe scraping sound. If an item is trapped behind the drum or cannot be reached easily, stop there.
2. Check the lint filter and accessible opening
Remove and clean the lint filter as directed in the user manual. Look for loose objects in the accessible filter opening, but do not push tools into the ducting or fan housing. A clean filter is important for airflow, although lint buildup alone does not prove the source of a grinding sound.
3. Check the load and dryer position
Heavy shoes, metal clothing accessories, or a single bulky item can create bangs or uneven movement that sound mechanical from another room. Also check whether the cabinet rocks or touches a nearby washer, wall, or shelf. Adjust the leveling feet only according to the installation instructions, with the dryer stationary.
If the sound is truly metallic grinding rather than knocking or vibration, leveling or changing the load is unlikely to resolve worn internal parts.
4. Note when the noise begins
Write down whether it starts as soon as the cycle begins, appears as the drum turns, changes with the weight of laundry, or continues while the machine is winding down. A short recording taken from a safe distance can help a repair professional. Do not bypass the door switch or operate the dryer with panels removed to locate a sound.
Common mechanical causes of dryer grinding
Worn drum glides or slides
Some dryers use glides or slide pads to support part of the rotating drum. As the contact material wears away, the drum may rub against nearby surfaces and produce scraping or grinding. On designs that use these parts, continuing to run the dryer can damage more than the original glide.
A technician can confirm whether your model uses glides and inspect their condition. Not every dryer has the same support arrangement.
Damaged drum rollers or roller shafts
Many tumble dryers support the drum on rollers. A seized, flattened, or badly worn roller may produce a rumble, rough rolling sound, or repeated scraping. Worn roller shafts can also contribute. Some manufacturers note that a light temporary thump after extended non-use may fade, but a strong, persistent grinding noise should not be treated as normal break-in sound.
Replacing rollers requires access to internal moving components. Correct quantities and compatible parts depend on the dryer model.
Worn rear drum bearing
Other designs use a rear bearing or support assembly. Wear at that contact point can cause squealing, grinding, or difficult drum movement. A bearing problem can resemble damage to front glides, so it needs inspection rather than guesswork based on the noise alone.
Idler pulley or drive belt trouble
The idler pulley helps maintain drive-belt tension on many belt-driven dryers. A pulley that no longer turns freely may squeal or grind. A frayed belt can also create noise, especially if it rubs against nearby components. If the drum stops turning while the motor can still be heard, a failed belt or drive mechanism becomes another possibility.
Do not keep starting the dryer to see whether the belt catches. Internal belt and pulley checks should follow the exact service information for the model.
Blower wheel obstruction or damage
The blower moves air through the drying system. A loose or damaged wheel, or debris contacting it, can make a scraping, rattling, or grinding sound. Poor airflow may appear alongside the noise, but it does not establish that the blower is at fault. Internal fan inspection requires safe disassembly and is best handled by a qualified repairer.
Drive motor wear
A damaged motor bearing can cause an unpleasant grinding or growling sound, though other mechanical causes are often worth checking first. Motor diagnosis involves electrical and moving parts; a motor should not be replaced solely because a dryer is noisy.
Why the noise may be worse when the dryer is full
A heavier load increases the force on the drum supports. If worn rollers, glides, or bearings are already struggling, the sound may become more obvious with wet towels or bedding. Overloading can also worsen vibration, but reducing the load does not repair worn support hardware.
Check the manufacturer’s load guidance. If the dryer grinds with a normal load or while empty, stop using it rather than experimenting with increasingly heavy loads.
Can you turn the dryer drum by hand?
With the dryer disconnected from power and fully stopped, some manufacturers’ designs allow the drum to be moved gently by hand through the door opening. Resistance varies across models because the belt and motor remain connected. Do not force a stiff or jammed drum. If the movement produces scraping, feels obstructed, or is prohibited by the manual, leave further testing to a technician.
A drum that feels smooth by hand does not rule out a pulley or blower problem during powered operation. This check cannot reliably identify a particular failed component.
When to stop using the dryer immediately
- The grinding is loud, sharp, persistent, or rapidly getting worse.
- You smell burning, see smoke, or notice scorched material.
- The drum sticks, stops rotating, or visibly rubs against the cabinet.
- The dryer repeatedly trips the electrical protection device.
- You suspect a gas leak or notice damage to the gas connection on a gas dryer.
Disconnect electrical power when it is safe to do so. If gas is suspected, follow local gas-emergency guidance: avoid operating switches or appliances in the affected area, leave the area, and contact the gas emergency service from a safe location. Do not attempt internal electrical, gas, or motor repairs as a noise test.
Is a grinding dryer worth repairing?
Often, yes, if the problem is limited to replaceable rollers, glides, a bearing, or an idler pulley and the drum and cabinet have not suffered further damage. But the right decision depends on the exact model, part availability, labor charges, appliance age, and whether the machine has other faults.
Ask for a diagnosis that names the failed component, confirms part compatibility using the full model number, and includes labor and any additional damaged parts. Compare the complete written repair quote with the price of a suitable replacement dryer. Avoid ordering a generic repair kit before checking compatibility: different dryer designs use different support systems.
How to prevent the grinding noise from returning
- Empty pockets before every wash and dry cycle.
- Keep the lint filter clean and maintain the exhaust or condenser system as the manufacturer directs.
- Use suitable load sizes and avoid repeatedly drying heavy, unbalanced items.
- Keep the machine level and free of contact with surrounding surfaces.
- Pay attention to a new squeal, scrape, or rumble before it becomes severe.
The bottom line: a clothes dryer making a grinding noise deserves attention, especially when the sound follows every drum rotation or becomes louder under load. Check for accessible loose objects and obvious vibration with power disconnected. Persistent grinding points to a mechanical issue that should be diagnosed before the dryer is used again.

Daniel Brooks is a US-based appliance troubleshooting researcher with 12 years of experience studying washer, dryer, refrigerator, and dishwasher faults. He reviews manufacturer manuals and converts technical error codes into safe, practical guidance for homeowners.