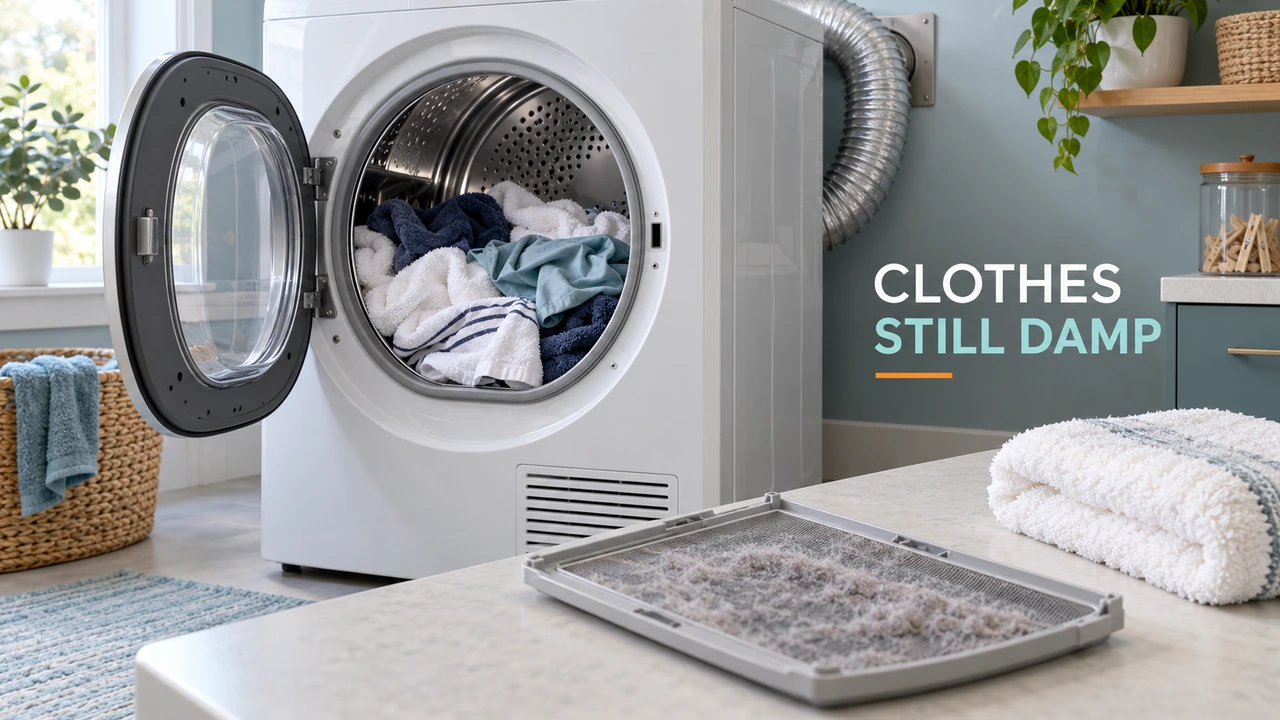
 If your dryer will not dry clothes completely, first check whether the laundry is warm but damp or still cold at the end of the cycle. Warm, damp clothes often point to restricted airflow, an overloaded drum, or a cycle that ended before moisture was removed. Cold, wet clothes may indicate a no-heat problem instead. Start by cleaning the lint screen and testing a suitable cycle with a smaller, well-spun load.
Stop using the dryer if you notice smoke, a burning smell, scorching, unusual overheating, repeated breaker trips, or a gas odor. If gas is suspected, leave the area and contact the gas utility or emergency services from a safe location. Do not continue cycling a dryer with a suspected blocked exhaust or damaged electrical connection.
Start with what the clothes feel like
The condition of the load offers a useful first clue. It will not identify an exact failed part, but it can keep you from chasing the wrong problem.
| At the end of the cycle | What to check first |
|---|---|
| Clothes are warm but still damp | Lint screen, exterior exhaust, load size and fabric mix |
| Clothes are cool and wet after a heated cycle | Cycle selection and correct electrical or gas supply |
| Most clothes are dry, but thick seams or towels remain wet | Mixed fabrics, bulky items and selected dryness level |
| Automatic cycle ends early, while a timed cycle dries better | Sensor contact, load size, dryness setting and sensor cleanliness |
| Clothes remain damp and a vent warning appears | Exhaust restriction, following the model’s warning instructions |
Clean the lint screen before trying another load
A coating of lint or laundry-product residue can reduce airflow through the screen. Remove the lint after each load and reinstall the filter correctly. If you can see a waxy film or water no longer passes readily through the screen, check your owner’s manual for its washing instructions. On models that permit it, a little mild detergent, warm water and a soft nylon brush can remove residue; rinse and dry the screen thoroughly before reinstalling it.
Never operate the dryer with its lint screen missing, torn or incorrectly fitted. If drying improves after cleaning, keep the routine rather than replacing internal components.
Look for restricted airflow in a vented dryer
A conventional vented dryer must move moist air outdoors. A crushed duct behind the cabinet, lint-packed exhaust route or blocked exterior hood can keep clothes damp even while the machine makes heat. Restricted ventilation can also raise operating temperatures, so repeated cycles are not a safe substitute for clearing a problem.
- Switch the machine off and look for a visible kink or crushed duct without dragging the dryer against its power cord or gas connection.
- From a safely accessible position, inspect the outdoor vent hood for lint, debris or a stuck flap. Do not climb onto a roof or reach into the duct while the dryer operates.
- If the duct passes through walls, floors or a long concealed route, arrange inspection and cleaning when obstruction is suspected.
- Have damaged or unsuitable ducting corrected according to the dryer’s installation instructions and local requirements.
Do not disconnect the vent to run the dryer indoors as a routine test. That can release lint and moisture, and a gas dryer also needs a correctly installed combustion exhaust. Condenser and heat-pump dryers usually have different airflow and filter arrangements, so use their specific maintenance instructions instead.
Give the laundry enough room to tumble
An overfilled drum prevents items from separating and reduces the air that reaches damp fabric. Try a smaller load. Heavy towels, jeans and bedding dry differently from lightweight shirts, so separating very different fabrics often helps the cycle finish more evenly.
For sheets, comforters and duvet covers, check the garment label and the dryer’s capacity guidance. Large pieces can roll into a tight bundle with a wet center. Where the manual allows, pause the machine, loosen and reposition the item, then resume the appropriate program. Do not force an oversized comforter into the drum.
Check how wet the laundry was before drying
Clothes that leave the washer dripping or unusually heavy will take longer to dry. Check whether the washer completed its spin cycle and whether a low-spin or delicate setting was chosen. If the fabric label allows it, a suitable additional spin can remove more water without asking the dryer to do all the work.
If several different loads suddenly emerge from the washer much wetter than usual, investigate the washer’s spin or drainage performance as a separate issue. The dryer may be working as intended.
Why does the dryer stop when the clothes are still damp?
On an automatic drying program, moisture sensing helps determine when to finish. Very small loads may not reliably touch the sensing surfaces. Thick pockets, waistbands and seams may also retain moisture after thin sections feel dry. An automatic cycle ending early is therefore not proof that the moisture sensor is defective.
Check the dryness level and load type
If your model offers Normal, More Dry or Extra Dry options, select the setting appropriate to the fabric care label. A quick-dry or short timed program may be intended only for a small load, not a full basket of towels. If a small load repeatedly ends damp on an automatic cycle, consult the manual about using a suitable timed cycle.
Clean moisture-sensor surfaces only as instructed
Some dryers have two metal moisture-sensing strips inside the drum, often near the lint-filter housing. Their location and safe cleaning method vary. With the appliance off and cool, clean only the user-accessible surfaces using the method approved for your model. Do not scrape the strips, spray chemicals inside the machine, or remove panels to reach sensors.
If automatic programs still stop prematurely while an appropriately chosen timed program dries normally, arrange model-specific diagnosis of the sensor system or controls.
What if the dryer heats but takes two or three cycles?
Persistent long drying times deserve attention even if some heat is present. Recheck the entire ventilation path, not just the lint screen. On a conventional vented model, inspect the outdoor outlet and arrange professional cleaning if airflow appears restricted. On a ventless model, check the approved lint filters, condenser or heat-exchanger care, water container and drain.
Then compare one smaller, normally spun load of similar fabrics on a recommended heated program. If that dries properly, loading and cycle selection are likely contributors. If even a modest load remains damp after safe maintenance, the machine needs further evaluation.
Condenser and heat-pump dryers need different checks
These models collect or drain moisture rather than relying on a conventional outdoor exhaust duct. Empty the water tank where applicable; inspect the drain arrangement if the manual permits; and clean accessible lint filters and condenser or heat-exchanger surfaces exactly as directed. Never dismantle a sealed refrigerant circuit.
A heat-pump dryer may run cooler and longer than a conventional vented dryer, but a substantial unexplained change from its normal performance is worth investigating. Room-temperature limits, filter maintenance and drying capacities depend on the model.
What if the clothes stay cold throughout the cycle?
If a conventional dryer produces no heat even when a heated program is selected, the problem is different from incomplete moisture removal. Some North American electric dryers can tumble while the heating circuit lacks its required power supply. Gas models can tumble despite a burner or gas-supply issue. Follow the manual’s external supply checks and get qualified help for electrical outlets, internal heating components or gas-system diagnosis.
Do not bypass thermal fuses or thermostats, work on live wiring, loosen gas fittings or order a heating element simply because clothes are wet. For a dryer that runs but never warms, use a dedicated no-heat troubleshooting procedure rather than repeatedly extending the drying time.
When to arrange service
Request professional inspection if clothes remain damp after the filters, load size, cycle selection and relevant airflow or drainage checks are addressed; if the dryer repeatedly overheats; or if warnings or errors persist. Stop immediately for burning, electrical or gas-safety signs.
Before contacting service, record the full model number, dryer type, selected cycle, approximate load size, whether the clothes were warm, and whether the issue happens on automatic and timed programs alike. These observations give a technician a useful starting point without requiring you to open the machine.
The most useful order is simple: check how wet the load was going in, clean the lint screen, make sure moisture can leave the machine, match the cycle to the fabrics, and then consider a sensor or heating fault if the problem remains.

Daniel Brooks is a US-based appliance troubleshooting researcher with 12 years of experience studying washer, dryer, refrigerator, and dishwasher faults. He reviews manufacturer manuals and converts technical error codes into safe, practical guidance for homeowners.