
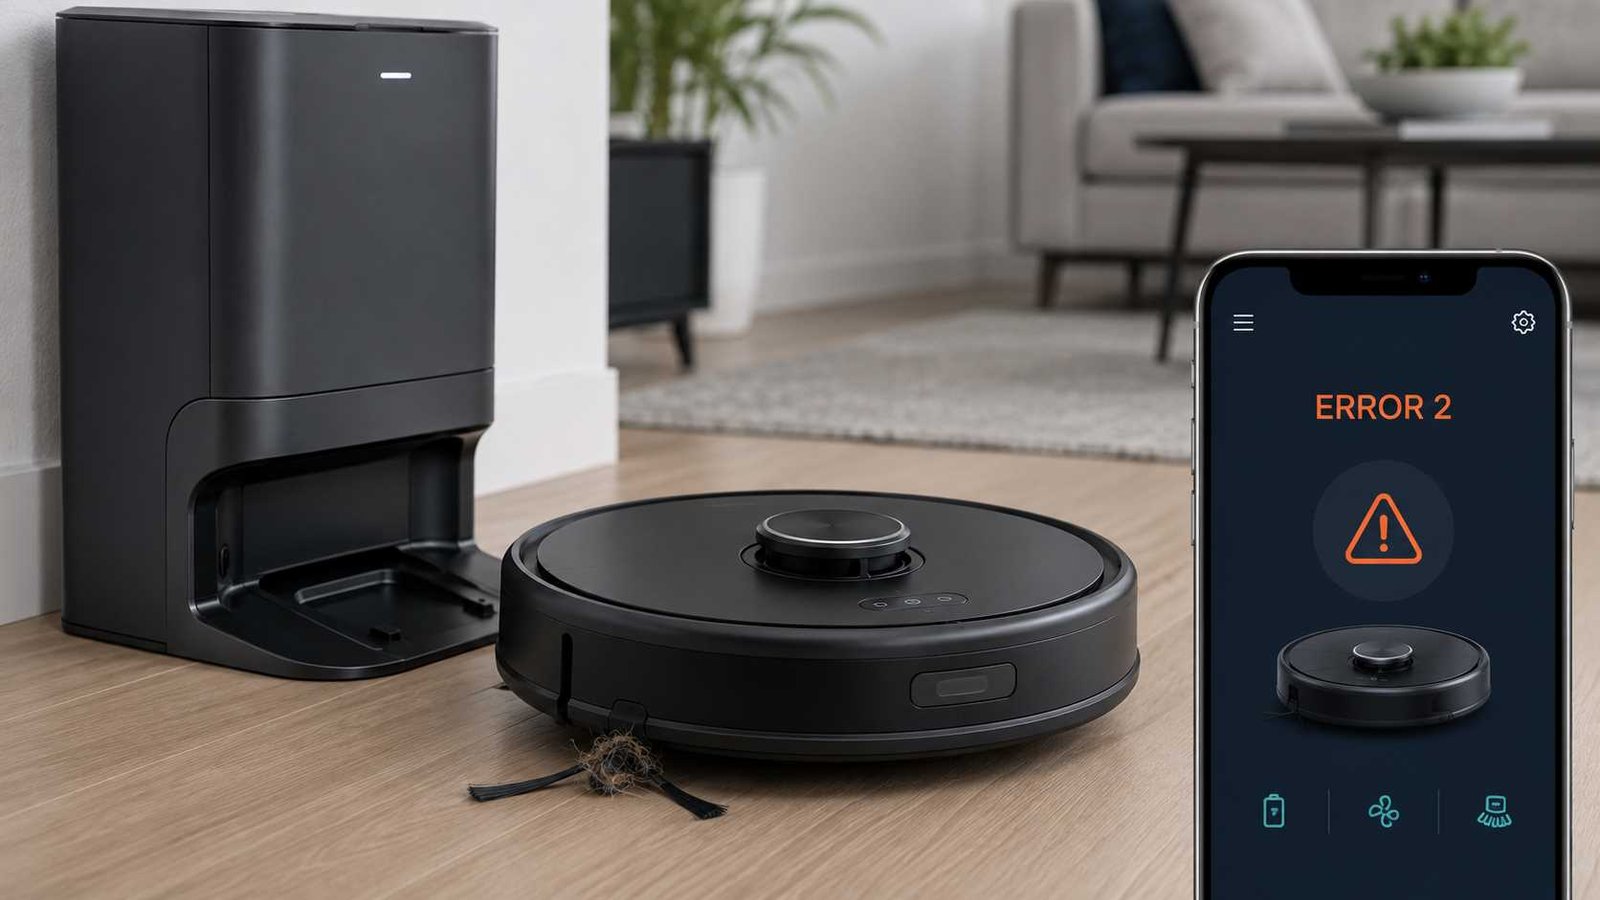
 Shark robot vacuum error codes usually point to a blocked brush, stuck wheel, dirty sensor, incorrectly fitted dust bin, charging problem, or docking fault. However, the number alone may not identify the problem. On some Shark IQ and AI models, Error 2 can refer to the side brush, brushroll, drive wheel, or wheel encoder depending on which lights are flashing.
Start by recording the complete model number, error number, light pattern, and SharkClean app message. Then switch the robot off before checking its brushes, wheels, dust bin, bumper, or sensors. Stop using the robot immediately if the battery becomes unusually hot, appears swollen, leaks, or the robot or charging base has suffered water or electrical damage.
| Item | Details |
|---|---|
| Appliance | Robot vacuum or robot vacuum and mop |
| Brand | Shark |
| Error format | Number, app message, voice alert, or flashing light combination |
| Most common causes | Tangled brushes, stuck wheels, dirty sensors, full bin, obstruction, low battery or docking problem |
| Safe first check | Switch off the robot and inspect accessible moving parts for debris |
| Repair difficulty | Usually easy for external blockages; difficult for motor, encoder, battery or LiDAR faults |
| Can it still be used? | Only after the reported obstruction or fitting problem has been corrected |
| Professional help required | Persistent motor, encoder, battery, charging, LiDAR, water-system or powered-base fault |
Identify the Shark Model Before Using an Error-Code List
Shark has used several different fault-reporting systems. Older ION robots mainly use combinations of CLEAN, DOCK, MAX and the exclamation-mark light. IQ and AI models may show a number in the SharkClean app together with coloured indicator lights. Matrix models assign separate numbers to more faults, while newer PowerDetect robots include specialised errors for LiDAR, active suspension, mop handling, refilling and base functions.
Before troubleshooting, record:
- The full model number.
- The complete error number.
- Which lights are flashing or solid.
- The colour of each light.
- The exact app or voice message.
- Whether the robot has a standard dock, self-empty base or wash-and-refill base.
The model label or QR-code label is normally found on the underside of the robot. Regional suffixes also matter. For example, UK models may include suffixes such as UK, EUK or WDUK, while North American products often use RV, AV or UR model prefixes. Current UK and US product listings show that apparently similar PowerDetect and Matrix robots can have different complete model designations.
Shark Error Systems by Model Family
| Shark family | How faults are usually shown | Important point |
|---|---|---|
| ION RV700-type models | CLEAN, DOCK, MAX and ! light combinations | The robot may not display a number |
| IQ RV1000-type models | Number plus coloured CLEAN, DOCK and ! lights | The same number may cover several moving-part faults |
| AI and AI Ultra | Number, coloured lights and SharkClean app message | Light pattern is essential for some codes |
| Matrix RV2300 | More individually assigned numeric codes | Side brush, brushroll, wheel and encoder faults have separate numbers |
| AI Ultra or Matrix 2-in-1 | Numeric codes plus mopping indicators | Includes fluid-reservoir warnings |
| PowerDetect RV2800/RV2900 | Detailed numbered or named system errors | May include LiDAR, suspension, refill, pad and base-system faults |
The distinctions above come from separate Shark owner guides and current Shark support pages. A code from one family should not automatically be applied to a different robot.
Common Shark IQ and AI Robot Error Codes
The following meanings apply to reviewed IQ and AI-series documentation. Always check the accompanying lights and your exact owner’s guide.
| Code | Usual meaning on reviewed IQ or AI models | Safe first action |
|---|---|---|
| Error 2 | Side brush, drive wheel, brushroll or wheel encoder fault | Match the light pattern, then check the indicated moving part |
| Error 3 | Suction motor fault or restricted airflow | Empty the bin, clean filters and inspect accessible airflow paths |
| Error 6 | Front bumper jammed | Remove debris and confirm the bumper moves freely |
| Error 7 | Cliff-sensor fault | Move to a level area and wipe the cliff sensors |
| Error 9 | Dust bin missing or incorrectly installed | Remove and reinstall the bin until secure |
| Error 10 | Robot obstructed or trapped | Move it to a clear, level area |
| Error 14 | BotBoundary or magnetic-boundary problem on selected IQ models | Move the robot away from the boundary strip |
| Error 16 | Robot stuck | Free the robot and inspect the bumper |
| Error 21 | Error during startup | Switch the robot off and back on |
| Error 23 | Base placement or docking condition | Confirm the robot is correctly positioned and the base indicator responds |
| Error 24 | Critically low battery or charging error | Match the light pattern before deciding which condition applies |
| Error 26 | Dust-bin or evacuation-airflow blockage | Check the robot and base bins for clogs |
Error 2: Check the Light Pattern
Error 2 is one of the easiest Shark codes to misdiagnose. On the reviewed AI Ultra guide:
- Red DOCK plus red
!indicates a stuck side brush. - Red CLEAN, red DOCK and red
!indicate a stuck drive wheel. - Alternating red CLEAN and red
!indicate a brushroll obstruction. - White CLEAN with red DOCK and red
!indicates a wheel motor encoder failure. - White CLEAN with red
!can also indicate a brushroll blockage.
An accessible brush or wheel blockage can usually be checked by the owner after switching the robot off. A wheel encoder failure is different. Shark’s guide directs the user to customer service rather than providing an internal repair procedure.
Error 3: Suction Motor or Airflow Problem
Error 3 indicates a suction-motor fault in the reviewed AI, AI Ultra and Matrix guides. Shark’s first checks are to empty the dust bin, clean the filters and remove accessible blockages around the bin, brushroll and brushroll door.
If airflow is clear and the code returns, the motor or its control system may require further diagnosis. Do not open the motor housing or test internal wiring.
Error 6: Front Bumper Jammed
The front bumper should move inward and return without sticking. Switch the robot off, remove hair or debris around the bumper edge and press it gently at several points.
Current RV2800 PowerDetect support information says Error 6 may involve an obstruction in the front bumper or LiDAR bumper, making model identification particularly important.
Error 7: Cliff-Sensor Error
Move the robot away from stairs and place it on a clean, level floor. Wipe the cliff sensors with a clean, dry, soft cloth.
Very dark flooring, dirt over the sensors or an unusual floor edge may affect navigation, but a code that returns on an ordinary level surface may indicate a sensor or internal connection problem.
Error 9: Dust Bin Not Installed
Remove the robot’s dust bin and check for compacted dirt around its seating area. Refit it fully until it clicks or locks into its normal position.
If the bin is securely installed but the robot still reports Error 9, the bin-detection mechanism may not be registering correctly. Stop before dismantling the detection switch or internal wiring.
Error 10 or Error 16: Robot Stuck
Error 10 usually means the robot is obstructed or not positioned on a suitable level surface. Error 16 means it is stuck and may also require checking that the bumper moves freely.
Remove cables, clothing, toys, rug tassels and low furniture obstructions from the cleaning path. Then place the robot close to where it stopped and restart the cleaning run.
Error 21: Startup Error
Error 21 means the reviewed AI robot encountered a problem while booting. Switch the robot off, wait briefly and power it on again.
If the robot repeatedly fails during startup, the problem is no longer a simple floor obstruction. Use the support page for the exact model or contact Shark.
Error 23: Dock or Base Condition
Error 23 does not have one universal meaning.
On the reviewed RV2300 Matrix guide, Error 23 means the robot cannot find the self-empty base. Shark advises confirming that the base is switched on and free from obstructions. On the reviewed RV2502AE AI Ultra guide, the instruction focuses on correctly placing the robot on the base and confirming that the base indicator turns blue. Newer RV2900 PowerDetect systems also use Error 23 among several robot-refill faults.
Error 24: Low Battery or Charging Fault
A flashing red battery icon means the battery is critically low on the reviewed AI Ultra guide. Place the robot on its correct base and confirm the base recognises it.
On the same guide, white DOCK plus red ! also carries Error 24 but means the robot encountered a charging error. Shark specifically advises checking that the correct power cord is being used for the base.
Error 26: Dust Bin or Evacuation Blockage
Check both the robot bin and self-empty base for compacted debris. Inspect the bin inlet, evacuation path and accessible openings. Reinstall the robot bin securely after clearing the obstruction.
Do not insert tools deeply into the powered base or dismantle its motor housing. A repeated code with clear airflow may indicate a base motor, sensor or sealing problem.
Shark Matrix RV2300 Error Codes
The Matrix RV2300 guide separates several faults that appear under Error 2 on some AI models.
| Matrix code | Meaning | Recommended first check |
|---|---|---|
| Error 2 | Side brush stuck | Clear debris from around the side brush |
| Error 3 | Suction motor failure | Empty the bin, clean filters and clear accessible airflow paths |
| Error 4 | Brushroll blockage | Remove hair and debris from the brushroll |
| Error 5 | Drive wheel stuck | Clear debris from the wheel and axle area |
| Error 6 | Front bumper jammed | Clean around the bumper |
| Error 7 | Cliff-sensor error | Clean sensors and move to a level area |
| Error 9 | Dust bin not installed | Reinstall until it clicks |
| Error 10 | Robot obstructed | Move to a clear, level location |
| Error 16 | Robot stuck | Free the robot and check bumper movement |
| Error 18 | Wheel motor encoder failure | Contact Shark support |
| Error 23 | Cannot find self-empty base | Switch on and clear space around the base |
| Error 24 | Critically low battery | Place the robot correctly on the base |
| Error 26 | Robot or base-bin blockage | Clear clogs and reinstall the bin |
This is why a page that says every Shark Error 2 means the same thing can produce the wrong diagnosis. On Matrix RV2300 models, the brushroll, drive wheel and wheel encoder are assigned Errors 4, 5 and 18 rather than being grouped under Error 2.
Shark ION Flashing-Light Errors
Older ION models may not show a numeric code. Instead, interpret the complete light combination.
| ION light pattern | Meaning or first action |
|---|---|
| All lights off | Power is off, robot is asleep or battery is empty |
Red CLEAN plus flashing ! | Suction motor fault; check filters, bin and airflow |
| Red CLEAN flashing | Robot may be stuck |
| MAX flashing | Robot may be obstructed or the front bumper may be jammed |
| Red CLEAN plus DOCK flashing | Cliff-sensor or startup condition |
| Red CLEAN plus MAX flashing | Dust bin needs reinstalling |
MAX plus ! flashing | Side brush stuck |
Red CLEAN, MAX and ! flashing | Drive wheel stuck |
DOCK, MAX and ! flashing | Brushroll blockage |
DOCK plus ! flashing | Check that the correct dock is being used |
Blue CLEAN, MAX and ! flashing | Robot trapped or bumper obstructed |
CLEAN, DOCK, MAX and ! flashing | Wheels or bumper may be obstructed |
| CLEAN, DOCK and MAX flashing | Find My Robot mode is active |
The precise colours and combinations vary among ION revisions, so compare the pattern with the guide for the full RV model number.
Shark Robot Vacuum and Mop Errors
Mop-capable Shark robots add tank, reservoir, cleaning-pad and base water-system faults that do not apply to vacuum-only models.
On the reviewed AI Ultra 2-in-1 guide, Error 25 with a flashing yellow CLEAN light means the fluid reservoir is empty. The guide instructs the user to refill it with water or the specified Shark VACMOP solution before restarting. It also states that the robot’s CLEAN button turns blue when the reservoir is properly installed and yellow when the reservoir needs refilling.
For ordinary vacuuming on that model, the fluid reservoir should not be attached and the dust bin must be properly installed. When preparing the robot for mopping, the reservoir, approved fluid and pad must be fitted as described in the owner’s guide.
Do not substitute bleach, solvent, concentrated detergent or another unapproved chemical. Stop using the robot if liquid has entered a vacuum-only section, the charging contacts are wet or the base shows signs of electrical damage.
PowerDetect Error Codes
PowerDetect RV2800 and RV2900 systems use a wider range of component-specific faults. Examples confirmed on current Shark support pages include:
- Error 6 for bumper obstruction on selected RV2800 models.
- Error 47 for an Active Suspension or ActiveLift problem.
- Error 62 for pad-detach motor overcurrent on selected RV2800 models.
- LiDAR failure or broken-LiDAR conditions.
- Errors 23, 43, 56, 69 and 1165 for robot-refill problems on selected RV2900 models.
- Errors 50, 54 and 1167 for greywater evacuation problems.
- Errors 48, 58, 61, 62 and 1166 for mop-pad detachment problems.
- Errors 36, 42 and 48 for mop-pad attachment problems.
- Separate heated pad-wash and drying errors.
These newer errors should be handled through the support article for the exact model and error number. Do not use an older AI or Matrix code table to interpret an RV2800 or RV2900 water-system fault.
Safe Troubleshooting Steps
1. Record the Complete Error
Take a photograph or screenshot before restarting the robot. Include the number, light pattern and SharkClean app message.
This matters because Error 2, Error 23 and Error 24 can represent different conditions depending on the model or accompanying lights.
2. Move the Robot to a Clear, Level Area
Lift the robot carefully and place it on a hard, level floor away from stairs. Remove cords, toys, fabric and rug tassels.
Do not place fingers between the bumper and the robot body while lifting it. Shark’s AI guide specifically cautions users about this area.
3. Switch Off the Power
Turn the robot off before touching the underside, brushroll, wheels, side brush, bin or sensors. Shark’s reviewed guides explicitly instruct users to turn off power before maintenance.
4. Check the Side Brush
Remove hair, thread and fibres wrapped around the brush or its base. Confirm that it is not bent against the robot’s body.
Do not force a brush that will not turn. A damaged mounting post or internal drive may require support.
5. Inspect the Main Brushroll
Open only the user-accessible brushroll door described in the owner’s guide. Remove the brushroll, clear hair from its ends and reinstall it in the correct orientation.
Make sure the brushroll door clicks into place on both sides.
6. Check the Wheels
Remove hair and fibres from the drive-wheel axle areas. Press each drive wheel down gently and confirm that it springs back.
A wheel that remains stiff after accessible debris has been removed may have a motor, gearbox or encoder fault.
7. Clean the Bumper and Sensors
Wipe the cliff sensors and charging contacts with a clean, dry cloth. Remove debris around the front bumper and check that it moves in and out smoothly.
Do not pour cleaner onto sensors or charging contacts.
8. Empty and Refit the Dust Bin
Empty the bin and inspect its inlet for compacted debris. Clean the filter according to the manual and let any washable component dry fully before refitting it.
Push the bin fully into place until it locks normally.
9. Check the Base
Confirm that:
- The base is connected to power.
- Its indicator light responds normally.
- The approach path is clear.
- The robot’s charging contacts align with the base.
- The correct base and power cord are being used.
- Neither the robot nor base contacts are wet.
Shark’s guides use different clearance recommendations for different bases, so follow the placement diagram in the exact model manual rather than applying one distance to every Shark dock.
How to Clear or Reset a Shark Robot Error
Correct the physical cause before restarting. Resetting will not remove hair from a brushroll, unblock an evacuation path or repair a failed wheel encoder.
A basic power restart is appropriate after an accessible obstruction has been cleared:
- Switch the robot off using its normal power control.
- Leave it off for several seconds.
- Place it on a level floor or correctly on its base.
- Switch it back on.
- Start a short cleaning run and observe it.
Some ION documentation specifies switching the side power switch off for five seconds. Other Shark troubleshooting instructions use a ten-second power-off period. Because the controls vary, use the sequence stated in the manual for your model.
Restarting Is Not the Same as a Factory Reset
A factory reset may remove Wi-Fi settings, maps, rooms, schedules or preferences. It should not be the first response to a brush, wheel, bumper or dust-bin fault.
Use a factory reset only when the model-specific Shark support instructions recommend it for an app, mapping or connection issue. Do not use an unverified button combination found for a different Shark series.
What to Do When the Error Returns
A recurring code means either the original cause was not fully removed or the robot cannot correctly detect that the problem has been resolved.
Recheck:
- Hair hidden under brush end caps
- Fibres wrapped tightly around wheel axles
- Brushroll-door alignment
- Dust-bin seating
- Filter installation
- Base-bin seating and seals
- Charging-contact cleanliness
- Bumper movement across its full width
- Damage to brushes or wheels
- Water-tank, reservoir or mop-pad installation
If Error 2 returns with an encoder-related light pattern, Error 18 remains after cleaning the wheel, or Error 3 returns with clear airflow, stop repeating resets. Those conditions may require component testing or replacement rather than further cleaning.
Before contacting support, collect the model number, serial number, purchase information, error number, light pattern, app message and a short video showing the fault.
Parts That May Be Connected With an Error
| Part or system | Related symptoms or codes |
|---|---|
| Side brush | Error 2 on AI models; Error 2 on Matrix |
| Main brushroll | Error 2 on selected AI models; Error 4 on Matrix |
| Drive wheel | Error 2 on AI models; Error 5 on Matrix |
| Wheel encoder | Error 2 on selected AI models; Error 18 on Matrix |
| Suction motor and airflow path | Error 3 |
| Front bumper | Error 6, Error 10 or Error 16 |
| Cliff sensors | Error 7 |
| Dust bin or bin detector | Error 9 |
| Battery and charging system | Error 24 |
| Self-empty airflow path | Error 26 |
| Fluid reservoir | Error 25 on selected 2-in-1 models |
| LiDAR module | PowerDetect navigation errors |
| Suspension system | Error 47 on selected PowerDetect models |
| Mop-pad mechanism | Selected PowerDetect pad attach or detach codes |
| Refill and greywater system | Selected RV2900 errors |
Replacement parts must be matched to the complete model number and region. Shark’s parts listings show that one component may support many RV, AV and UR variants, while apparently similar models may need a different dock, battery or water-system part.
Can You Continue Using the Robot?
| Condition | Use the robot? |
|---|---|
| Removable hair around a brush or wheel | No, not until the debris is cleared |
| Dust bin incorrectly installed | Reinstall it before use |
| Critically low battery | Place the robot on its correct base |
| Charging error | Do not continue until the base, cord and contacts are checked |
| Repeated motor or encoder code | Stop and contact support |
| Water around charging contacts | Stop, disconnect the base safely and allow professional assessment |
| Damaged cord, base or robot casing | Stop using it |
| Hot, swollen, leaking or damaged battery | Stop immediately and keep it away from heat and ignition sources |
Shark manuals warn against using damaged robots, batteries, charging docks or power supplies and state that power should be turned off before lifting or maintaining the robot. The reviewed 2-in-1 guide also says the robot contains no user-serviceable parts beyond the maintenance items identified in the manual.
When to Contact Shark or a Repair Professional
Stop homeowner troubleshooting when:
- The code returns after the accessible blockage is removed.
- A wheel encoder or internal motor fault is reported.
- The robot will not start after a correct power restart.
- The robot cannot charge on the correct powered base.
- The battery becomes hot, swollen, damaged or unstable.
- Liquid enters the robot, dock or charging contacts.
- The LiDAR module does not move or the navigation fault persists.
- A PowerDetect base cannot refill, evacuate greywater, attach a pad or complete drying.
- Repair would require opening the battery pack, motor, powered dock, wiring or control board.
Do not bypass sensors or safety systems to keep the robot operating.
Regional and Model Differences
The basic external checks are similar in the United States, Canada, the United Kingdom, Ireland, Australia and New Zealand, but the complete model number, supplied base, power cord and available parts may differ.
Never connect a charging base or power supply bought for another region unless Shark confirms compatibility. Use the support website for the country where the robot was sold, and search using the complete model suffix rather than only the marketing name. Official UK listings, for example, include RV2800ZEUK variants, while US Matrix products use designations such as RV2310AE.
Safety Warning
Switch the robot off before removing debris or opening a user-accessible brushroll compartment. Keep the base disconnected from power if it is damaged or wet. Do not open the battery, motor, LiDAR unit, charging base, internal wiring or electronic control sections. Never bypass a bumper, cliff sensor or battery safety device.
Frequently Asked Questions
How do I find out what my Shark robot error code means?
Record the full error number, flashing-light pattern, app message and model number. Then use the error table from that exact model’s owner guide. The number alone may be insufficient on IQ and AI models.
Why does my Shark robot keep showing Error 2 after I cleaned the brush?
Error 2 may refer to the side brush, brushroll, drive wheel or wheel encoder on selected AI models. Match the light pattern before checking the part. A repeated encoder-related pattern requires Shark support rather than more brush cleaning.
What does a red light mean on a Shark robot vacuum?
It can mean low battery, a mechanical obstruction, a sensor fault, a charging problem or loss of Wi-Fi, depending on which indicator is red and whether it is solid, flashing or combined with another light. Check the complete pattern rather than interpreting the colour alone.
How do I clear an error after removing a blockage?
Switch the robot off, reinstall any removed brushroll, door or bin, place it on a level floor and restart it using the model’s normal power procedure. A factory reset is not usually necessary for a simple obstruction.
Does Shark Error 24 always mean the battery is faulty?
No. On the reviewed AI Ultra guide, a flashing red battery icon means the charge is critically low, while a different light pattern carrying Error 24 indicates a charging error. Check the accompanying lights and confirm that the correct base power cord is being used.
Why can’t my Shark robot find its self-empty base?
Possible causes include an unpowered base, obstacles around the approach path, a relocated base, dirty contacts, incorrect alignment or a navigation problem. On Matrix RV2300 models, Error 23 specifically indicates that the robot cannot find its self-empty base.
Can I use a Shark robot while an error is showing?
Do not continue the cleaning run until the cause has been identified and corrected. A minor debris blockage may be resolved safely, but charging, battery, motor, encoder, LiDAR or water-system faults require more caution.
Should I factory reset my Shark robot for every error?
No. A factory reset does not remove physical obstructions and may delete saved maps or settings. Use it only when the model-specific support instructions recommend it for a software, Wi-Fi or mapping problem.

Emily Carter is an Australian home-appliance safety editor with 9 years of experience researching washers, air conditioners, refrigerators, and coffee machines. She checks troubleshooting steps for accuracy, regional model differences, and homeowner safety before publication.
1 thought on “Shark Robot Vacuum Error Codes: Meanings and Fixes”