
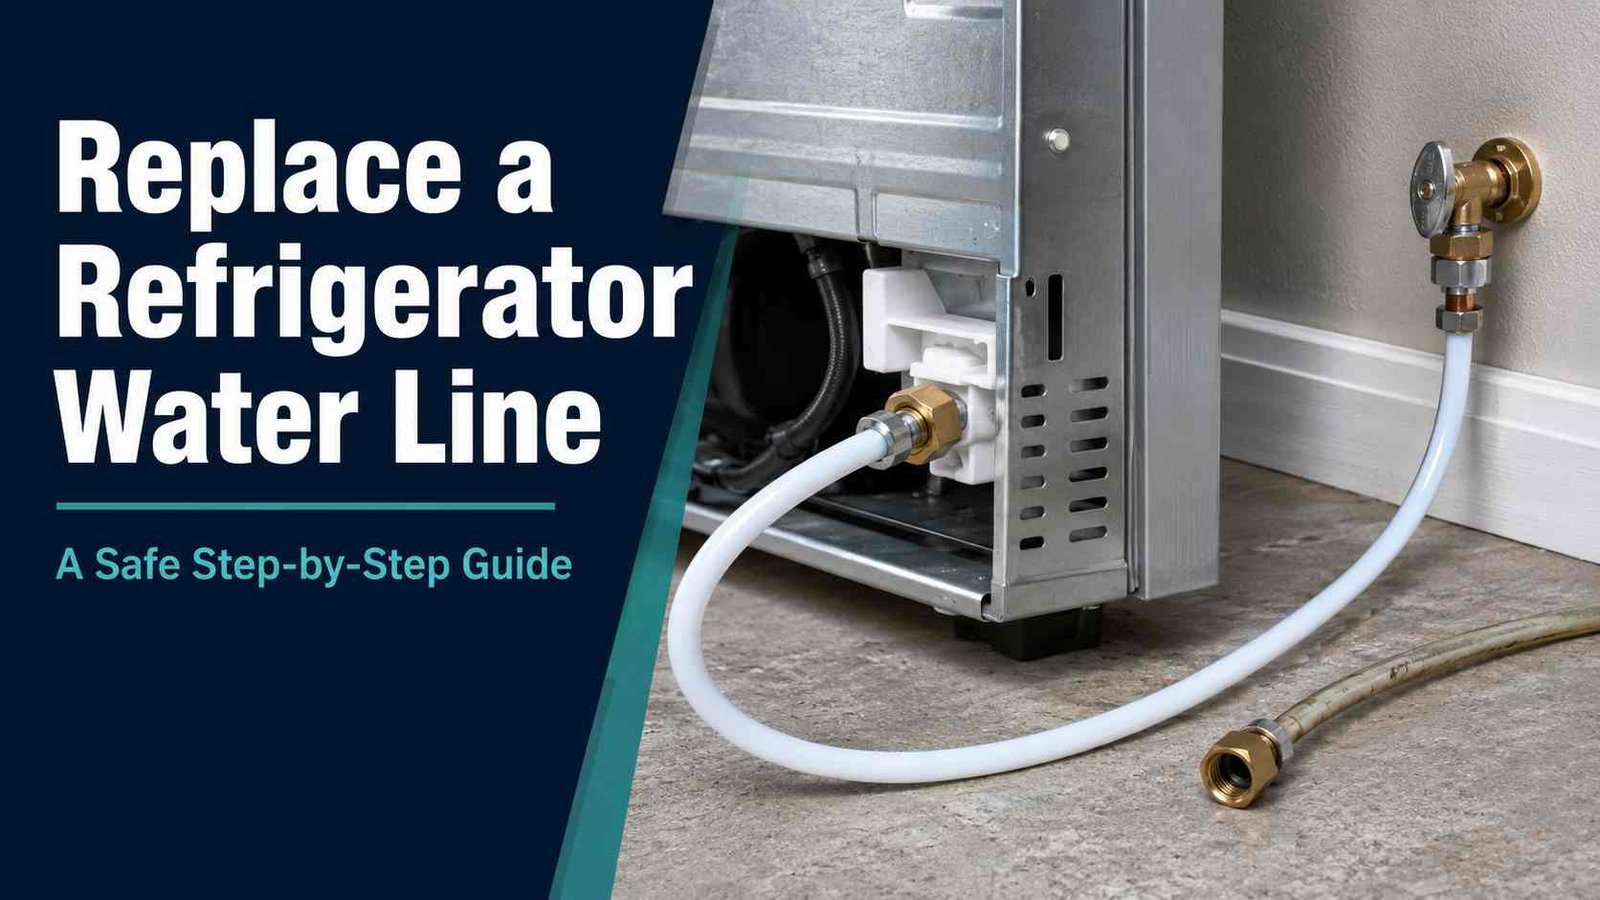
 A refrigerator water line supplies water to the ice maker and water dispenser. If that line becomes cracked, kinked, brittle, or starts leaking around a fitting, replacing it can prevent water damage and restore normal water flow.
The good news is that replacing an existing refrigerator water line is usually simpler than installing a completely new water supply. In many cases, the shutoff valve is already there, so you only need to remove the old tubing and connect the correct replacement.
Most modern refrigerator installations use 1/4-inch outside-diameter tubing, commonly soft copper or PEX. However, connection styles vary between refrigerator models, so check your owner’s or installation manual before buying tubing or fittings. Whirlpool and Maytag both specify 1/4-inch OD copper or PEX for many refrigerator installations.
This guide explains how to replace a refrigerator water line, choose the right tubing, make secure connections, and check your work for leaks.
Can You Replace a Refrigerator Water Line Yourself?
You can often replace a refrigerator water supply line yourself if:
- an accessible shutoff valve is already installed
- you can easily reach both ends of the existing line
- the household plumbing is in good condition
- you are replacing tubing rather than modifying plumbing inside a wall
- the refrigerator uses ordinary accessible fittings
Maytag describes refrigerator water-line connection as a task involving basic tools, while also recommending professional help when assistance with household plumbing connections is needed.
Consider calling a plumber or appliance technician if the shutoff valve is corroded, will not completely stop the water, household pipes need to be cut or modified, or water is leaking from inside the refrigerator rather than from the external supply line.
Why Replace a Refrigerator Water Line?
A refrigerator water line does not necessarily need replacement just because it is old. Replace it when there is a clear problem or when its condition makes failure likely.
Common reasons include:
- cracks in plastic tubing
- visible water leakage
- badly kinked tubing
- damaged compression fittings
- crushed tubing behind the refrigerator
- corrosion around metal connections
- repeated low-water-flow problems caused by damaged tubing
- a line that is too short after moving the refrigerator
- damage caused while replacing or relocating the appliance
Maytag notes that damaged, cracked, kinked, or incorrectly installed tubing can contribute to leaks, poor dispenser flow, and ice-production problems.
What Size Water Line Does a Refrigerator Use?
1/4-inch outside diameter is one of the most common refrigerator supply-line sizes.
Whirlpool specifies 1/4-inch (6.35 mm) OD soft copper or PEX tubing for connecting the shutoff valve to many refrigerators. GE also documents 1/4-inch OD tubing and 1/4-inch compression fittings for refrigerator ice-maker connections.
That does not mean every connection on every refrigerator is identical. For example, some models use smaller factory-installed tubing inside or immediately behind the appliance and connect that tubing to the household supply through a union or adapter. Samsung documentation for some models shows this type of arrangement.
Before purchasing parts, check:
- Your refrigerator model number.
- The installation manual.
- The outside diameter of the existing supply line.
- The connection at the shutoff valve.
- The refrigerator-side fitting.
Do not assume a connector is universal simply because the tubing is 1/4 inch.
Copper vs PEX vs Braided Refrigerator Water Line
Several types of tubing can be used for refrigerator water connections, depending on the refrigerator and installation.
| Water Line Type | Advantages | Possible Drawbacks |
|---|---|---|
| Soft copper | Durable and widely supported | Can kink if bent sharply |
| PEX/polymer tubing | Flexible and easy to route | Requires compatible fittings |
| Braided flexible line | Flexible and resistant to kinking | End fittings must match the installation |
| Flexible plastic tubing | Easy to handle | Must be approved and compatible with the refrigerator |
Whirlpool and Maytag commonly identify soft copper and PEX as acceptable options for many models. GE also lists 1/4-inch copper and, for some applications, reinforced PVC or stainless-steel flexible tubing.
GE also sells braided refrigerator supply lines with 1/4-inch inlet and outlet fittings, showing that braided connections are suitable for certain refrigerator installations.
The safest choice is the tubing type specified in your refrigerator’s installation instructions.
Tools and Parts You May Need
The exact parts depend on your refrigerator, but a typical replacement may require:
- replacement refrigerator water line
- compatible compression nuts
- ferrules or sleeves
- compatible union or adapter
- adjustable wrench
- second wrench for holding a fitting
- tubing cutter if using copper or cut-to-length tubing
- bucket or shallow container
- towels
- flashlight
- cardboard or floor protection
If your line uses compression fittings, buy the fittings specified for the tubing material you are installing.
Avoid automatically reusing a damaged ferrule, nut, adapter, or connector simply because it fits over the new line.
Before You Replace the Refrigerator Water Line
A few minutes of preparation can prevent a small repair from becoming a water-damage problem.
1. Identify the Refrigerator Model
Find the model number and check the installation instructions.
Manufacturers may use different water connections between product families. KitchenAid, for example, notes that its 1/4-inch flexible water-line accessory works only with selected refrigerator models and recommends checking model compatibility.
2. Locate the Water Shutoff Valve
Trace the existing refrigerator line away from the appliance until you find the valve supplying it.
The valve may be:
- behind the refrigerator
- under the kitchen sink
- inside a nearby cabinet
- in the basement below the refrigerator
- inside a recessed refrigerator water-supply box
Make sure you know which valve actually stops water to the refrigerator.
3. Turn Off the Water
Close the refrigerator’s water shutoff valve.
If the valve does not close properly, do not disconnect the line and hope that only a small amount of water will escape. Shut off the appropriate household supply or have the valve repaired first.
4. Disconnect Refrigerator Power
Unplug the refrigerator before working behind it.
Manufacturer accessory instructions from Whirlpool, KitchenAid, and Maytag direct users to unplug the refrigerator or disconnect its electrical supply before relevant water-line installation work.
5. Protect the Floor
Place cardboard, a protective mat, or another suitable surface under the refrigerator before moving it.
Refrigerators are heavy, so move the appliance carefully. If significant movement or lifting is necessary, get another person to help. Maytag recommends using two people when moving and installing large refrigerators.
How to Replace a Water Line for a Refrigerator
The following steps cover a typical external refrigerator supply line. Your specific refrigerator may use a different connector, so follow its installation manual where it differs from these general instructions.
Step 1: Shut Off the Water Supply
Turn the refrigerator water valve completely off.
If the refrigerator has an ice maker, switching the ice maker off is also sensible while the water supply is disconnected. Samsung’s installation guidance for some refrigerators specifically instructs users to turn off the main water supply and ice maker before connecting the line.
Step 2: Unplug the Refrigerator
Disconnect the refrigerator from electrical power before reaching around connections at the rear of the appliance.
Do not work around a live appliance while dealing with a possible water leak.
Step 3: Pull the Refrigerator Forward Carefully
Move the refrigerator far enough from the wall to comfortably reach the water-line connection.
Do not jerk it forward. The existing water line may still be connected and could be too short to allow much movement.
Look behind the refrigerator as you move it.
Step 4: Place a Towel Under the Connection
Even after the shutoff valve is closed, a small amount of water can remain inside the tubing.
Place a towel or shallow container below the connection before loosening it.
Step 5: Disconnect the Old Line From the Refrigerator
Examine the connection first.
You may see:
- a compression nut
- threaded fitting
- push-to-connect fitting
- union
- manufacturer-specific connector
If it uses a compression nut, hold the stationary fitting where appropriate while loosening the nut. This helps avoid twisting parts that should remain fixed.
Do not pull hard on tubing that does not release normally. Confirm how the fitting operates first.
Step 6: Disconnect the Line From the Shutoff Valve
Place a towel under the valve connection and remove the opposite end of the old tubing.
Once disconnected, inspect the old line.
Look for:
- cracks
- crushed sections
- flattened areas
- discoloration
- corrosion
- damaged threads
- badly deformed compression sleeves
- signs that the tubing was pinched behind the refrigerator
Finding the failure point can help prevent the same problem from happening to the replacement.
Step 7: Inspect the Shutoff Valve
Before installing the new tubing, inspect the valve itself.
A new water line will not fix:
- a valve leaking around its stem
- heavily corroded threads
- a damaged valve outlet
- a valve that does not fully shut off
If the household valve is defective, repairing or replacing the plumbing valve may be a job for a qualified plumber.
Step 8: Prepare the New Water Line
Route the replacement tubing between the valve and refrigerator without stretching it tight.
Leave enough extra line behind the refrigerator so the appliance can be moved forward later without immediately pulling on the connection.
Maytag recommends leaving extra tubing coiled behind the appliance for movement and service, while its product-help guidance describes this extra tubing as a service loop.
Do not create sharp bends.
Step 9: Connect the New Line to the Water Supply
The exact procedure depends on the fitting.
For a typical copper compression connection, the compression nut and sleeve are placed on the tubing, the tubing is fully inserted into the valve outlet, and the nut is tightened onto the fitting.
Whirlpool describes this process for 1/4-inch soft copper tubing and recommends cutting the tubing ends square before assembly.
Do not assume that PEX, plastic, braided hose, and copper all use the exact same ferrules or connection method.
Use the hardware specified for your tubing.
Do Not Overtighten
A fitting needs to be secure, but more force does not always create a better seal.
Maytag specifically warns against overtightening compression connections during refrigerator installation, and Samsung gives the same warning for relevant refrigerator fittings.
Overtightening can damage tubing, distort a ferrule, or damage a fitting.
Step 10: Flush the Supply Line if Required
Some installation procedures call for flushing the household tubing before making the final refrigerator connection.
Maytag instructs users in its installation guide to place the open tubing end into a bucket, briefly restore the supply to flush the tubing, and then shut the water off again before connecting the refrigerator.
Follow your refrigerator manufacturer’s procedure.
Step 11: Connect the New Line to the Refrigerator
Attach the replacement line to the refrigerator’s water inlet using the correct fitting.
Make sure:
- the tubing enters the fitting straight
- threads start correctly
- the connection is not cross-threaded
- the tube is fully seated where required
- the fitting is secure but not excessively tightened
Some refrigerators have a direct 1/4-inch connection. Others connect through factory-installed plastic tubing, an adapter, or a union.
Your model manual takes priority over generic instructions.
Step 12: Slowly Restore the Water
Open the shutoff valve slowly.
Immediately watch both connections:
- the household supply-valve connection
- the refrigerator connection
If water begins escaping, turn the supply off again before making corrections.
Step 13: Check Carefully for Leaks
Dry both connections completely with a towel.
Then inspect them again.
A very slow leak can be difficult to notice on an already-wet fitting.
Run a dry finger or paper towel around the connection. If moisture returns, the connection still needs attention.
Manufacturers including Samsung instruct users to restore water and inspect connections for leaks after installation.
Step 14: Plug the Refrigerator Back In
Once the water connections are dry and secure, restore electrical power.
Check that the cord and water tubing are separated and not tangled or trapped beneath the refrigerator.
Step 15: Flush the Refrigerator Water System
If your refrigerator has a water dispenser, flush the system according to its manufacturer instructions before normal use.
The amount varies.
For example, one current Samsung installation guide recommends dispensing 2–3 gallons (7–11 liters) after installation, while another regional Samsung guide specifies approximately 3 liters for a particular setup. That difference is a good reason to follow the instructions for your exact refrigerator rather than relying on one universal flushing amount.
Flushing helps clear air and material introduced during installation.
Step 16: Move the Refrigerator Back Into Position
Carefully push the refrigerator back while watching the tubing.
The water line should not become:
- pinched
- crushed
- sharply bent
- trapped beneath a wheel
- stretched tight
- tangled with the power cord
Maytag specifically warns that pushing a refrigerator too far against the wall can pinch the water supply line and reduce water flow.
Leave the service loop positioned so the refrigerator can be moved again when necessary.
How to Replace a Plastic Refrigerator Water Line
If your existing line is plastic or PEX-type tubing, first determine exactly what tubing and fittings your refrigerator requires.
Do not simply buy tubing that looks similar.
Check:
- outside diameter
- tubing material
- fitting type
- insert requirements
- manufacturer instructions
Some plastic tubing connections use compression hardware, while others use push-fit connectors or manufacturer-specific adapters.
When inserting tubing into a compatible push-type fitting, it normally needs to be cut square and inserted fully according to that fitting’s instructions.
If the end of the old tubing is deeply scored or deformed, do not use that damaged section as a guide for how the new line should look.
How to Replace a Copper Refrigerator Water Line
Soft copper remains a common refrigerator supply-line material.
Whirlpool’s installation instructions describe using 1/4-inch soft copper tubing with square-cut ends, compression sleeves, and compression nuts for applicable installations.
When working with copper:
- Avoid flattening the tubing while cutting it.
- Make a clean, square cut.
- Avoid sharp bends.
- Use the correct compression sleeve and nut.
- Insert the tubing properly into the fitting.
- Tighten according to the installation instructions.
- Test carefully for leaks.
Do not repeatedly bend copper back and forth in the same location. A badly kinked section should generally be replaced rather than forced straight.
Why Is My New Refrigerator Water Line Leaking?
A new line can leak even when the tubing itself is undamaged.
Here are the most common areas to check.
Connection Is Too Loose
A compression fitting that has not been secured enough may seep around the tubing.
Turn off the water before making adjustments.
Connection Has Been Overtightened
Overtightening can also create problems.
It can deform components or damage tubing. Both Maytag and Samsung caution against overtightening applicable compression fittings.
Tubing Is Not Fully Inserted
If a tube has not reached the correct depth inside its fitting, the connection may leak or pull free.
Tubing Entered at an Angle
A crooked tube can prevent the fitting from sealing evenly.
Wrong Fitting Was Used
A connector that threads onto the valve is not necessarily correct for the tubing.
Match the fitting to both the tubing material and appliance connection.
Tubing Is Damaged Near the Connection
Look for scoring, cracks, flattened areas, or a badly cut end.
Leak Is Coming From Somewhere Else
Water behind the refrigerator does not automatically mean the external water line is defective.
Possible sources can include:
- refrigerator inlet valve
- filter housing
- internal tubing
- drain system
- ice-maker components
If the external fittings stay dry while water continues appearing, further refrigerator diagnosis may be needed.
Common Refrigerator Water Line Replacement Mistakes
Avoid these problems when replacing the line.
Connecting to Hot Water
Refrigerator ice makers and dispensers are intended to use an appropriate cold-water supply.
GE specifically advises against connecting its refrigerator ice-maker supply to hot water.
Buying Parts Before Checking the Refrigerator
Do not assume every refrigerator uses the same adapter.
Check the model before shopping.
Overtightening Compression Fittings
Tighter does not always mean safer.
Stop if you are applying excessive force.
Leaving the Line Too Short
A tight line can be pulled or damaged when the refrigerator is moved.
Leave a suitable service loop where the installation allows it.
Kinking the New Tubing
A kink can restrict water flow even if no water is leaking.
Pushing the Refrigerator Against the Line
Watch the line while returning the appliance to its final position.
Failing to Inspect for Slow Leaks
Check connections immediately after installation and again after the system has been used.
When Should You Call a Professional?
Stop the DIY repair and consider professional help if:
- the shutoff valve will not close
- household plumbing is badly corroded
- the supply valve itself leaks
- pipes inside the wall require modification
- you cannot identify the correct fitting
- the refrigerator’s inlet valve appears damaged
- water continues leaking after proper reconnection
- the line connects through an unfamiliar plumbing arrangement
- local plumbing rules require work you are not qualified to perform
Maytag advises contacting a licensed plumber when there are questions or concerns about household refrigerator plumbing.
Frequently Asked Questions
What size water line does a refrigerator normally use?
Many refrigerators use a 1/4-inch OD water supply line. Whirlpool, Maytag, GE, and KitchenAid documentation all show 1/4-inch connections in common refrigerator installations. Always verify the requirements for your model.
Are refrigerator water lines universal?
No. Although 1/4-inch supply tubing is common, tubing materials, refrigerator-side fittings, adapters, and factory-installed lines can differ between models.
Check compatibility before buying a replacement kit.
Can I use PEX for a refrigerator water line?
PEX is accepted for many refrigerator installations. Whirlpool and Maytag specifically list 1/4-inch OD PEX alongside soft copper for many models.
Your refrigerator’s installation manual should confirm whether it is suitable for your specific appliance.
Is copper better than plastic for a refrigerator water line?
Neither material is automatically best for every installation.
Copper is durable but can kink. PEX is easier to route and flexible but must be used with compatible fittings. Braided appliance lines are another option for certain installations.
Choose based on the refrigerator manufacturer’s instructions and the existing plumbing connection.
Can a refrigerator work without a water line?
Yes, most refrigerators can continue cooling food without a connected water supply, but features that require water, such as the automatic ice maker or dispenser, will not operate normally.
If the refrigerator is intentionally left disconnected, keep the water supply safely shut off and follow the manufacturer’s instructions for disabling water-dependent features.
Why is my refrigerator water line leaking after replacement?
Check the connection for:
- incorrect fitting
- loose compression nut
- overtightened fitting
- damaged tubing end
- improperly seated tubing
- cross-threading
- leaking shutoff valve
- leaking refrigerator inlet valve
Turn off the water before disconnecting or correcting the fitting.
Should I flush the line after replacing it?
Yes, if the refrigerator manufacturer’s instructions call for flushing.
The required amount differs between refrigerators. Samsung’s published procedures, for example, specify different flushing amounts depending on the model or regional installation instructions. Follow your specific owner’s manual rather than using an arbitrary amount.
How much extra water line should I leave behind the refrigerator?
Leave enough tubing to create a gentle service loop so the refrigerator can be pulled forward without putting tension on the connection.
There is no single length that is correct for every kitchen. Maytag recommends leaving extra tubing coiled behind the refrigerator and keeping it free from pinching and kinks.
Do I need to unplug the refrigerator when replacing the water line?
Yes. Disconnecting electrical power is a sensible safety step when working behind the refrigerator around water connections. Whirlpool, KitchenAid, and Maytag installation guidance specifically tells users to unplug the appliance or disconnect its power for applicable installation procedures.
Final Leak Check Before You Finish
Before pushing the refrigerator completely back into place, check five things:
- The shutoff-valve connection is completely dry.
- The refrigerator connection is completely dry.
- The water line has no sharp kinks.
- Enough slack remains for future servicing.
- The tubing will not be crushed when the refrigerator is moved back.
Then operate the water dispenser if your refrigerator has one and inspect the connections again.
Replacing a refrigerator water line is usually manageable when an existing shutoff valve and accessible connections are already available. The most important part is not tightening the fittings as hard as possible. It is using the correct tubing and fittings, making clean connections, keeping the line free from kinks, and checking carefully for slow leaks before the refrigerator goes back against the wall.

Daniel Brooks is a US-based appliance troubleshooting researcher with 12 years of experience studying washer, dryer, refrigerator, and dishwasher faults. He reviews manufacturer manuals and converts technical error codes into safe, practical guidance for homeowners.